
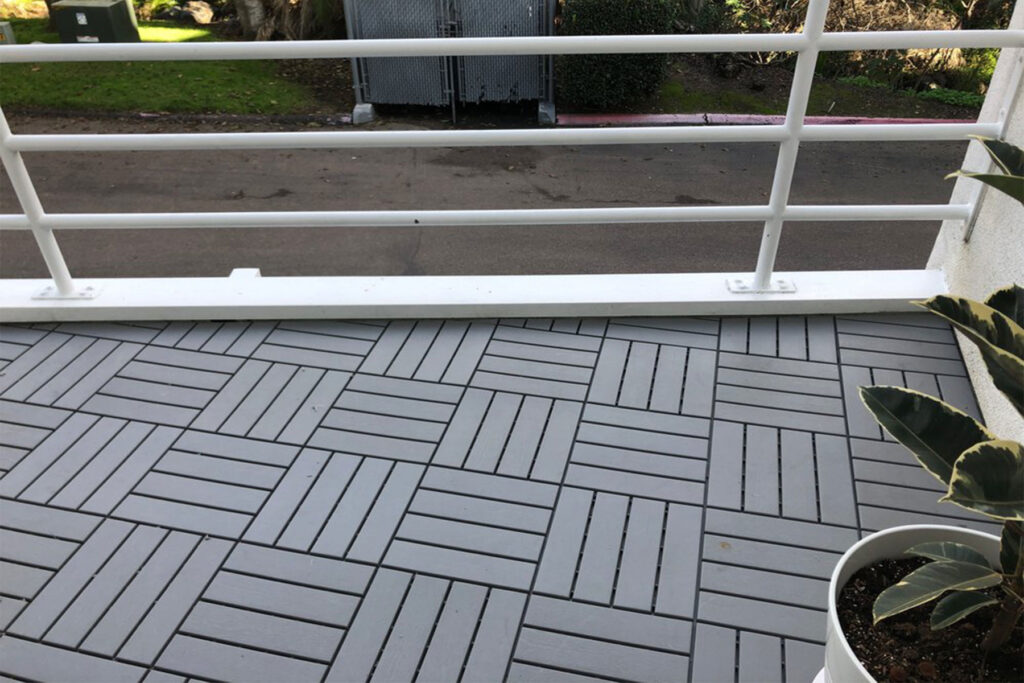
Let me tell you something I’ve learned after years of laying tile: your backyard can become a stunning outdoor living space with the right approach to tiling. I’m going to share my tried-and-true methods that will help you nail your outdoor tiling project.
First things first, picking the right tile makes all the difference. For outdoor spaces, you’ll want frost-resistant porcelain tiles. Trust me, I learned this the hard way early in my career when I used indoor tiles that cracked during the first winter. Look for tiles with a slip rating of R11 or higher – this means they’ll give you good grip even when wet.
Here’s a pro tip that will save you headaches:
start with a solid foundation. I always tell my clients that proper ground preparation is like building a house – you need a strong base. Dig down at least 4 inches and lay a bed of compacted gravel. Then add a layer of sand, making sure it’s perfectly level. I use a long spirit level and take my time with this step.
Now, for the part that makes or breaks your project: waterproofing. You’d be amazed how many DIY jobs I’ve had to fix because people skipped this step. Spread a waterproof membrane over your base and make sure it slopes slightly away from your house – about a quarter inch per foot does the trick.


When you’re ready to lay the tiles, use an outdoor-rated adhesive. Mix small batches as you go – I’ve seen too many folks mix too much at once and end up with dried adhesive before they can use it. Keep your spacing consistent by using tile spacers – they’re cheap and make your job look professional.
One last piece of advice: don’t rush the grouting. Wait at least 24 hours after laying the tiles before you start. Use a waterproof grout and seal it properly once it’s dry. Your future self will thank you when those tiles are still looking fresh years down the line.
Remember, taking your time with each step will give you results that’ll make your neighbors jealous. And isn’t that what we’re all aiming for?